Monday, April 17, 2006

Wire Bracelets

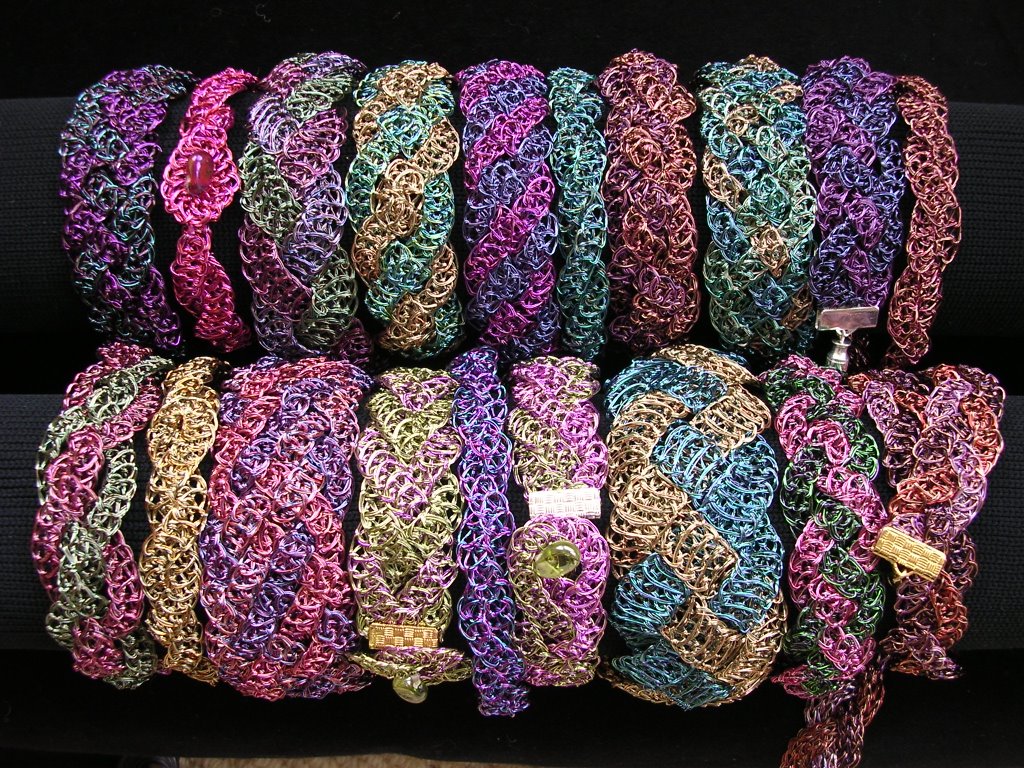
Just thought you might like to see a picture of some of the finished jewellery.
Erica

Friday, March 24, 2006


This was my final quick creation from Ros's bacteria, the details of how I did it are below.

Thank you Ros for all your hospitality and hard work.

If you couldn't come to the meeting but are inspired by these bacteria images visit the website Ros gave me (see lower down in the blog).

If you want to post to the blog then have a chat with Erica.


The third of the images I chose was this lovely lotus-like bacteria.

Invert the image and select an area. copy and paste the selection.

Rotate one of the selections 180 degrees, and overlay slightly using a blend mode.

Use Edit Transfor, Perspective to create a triangle which is cut and pasted 5 times. The trick is to move the rotation point to the tip of the triangle, this makes it easy to move the petals around the centre point.


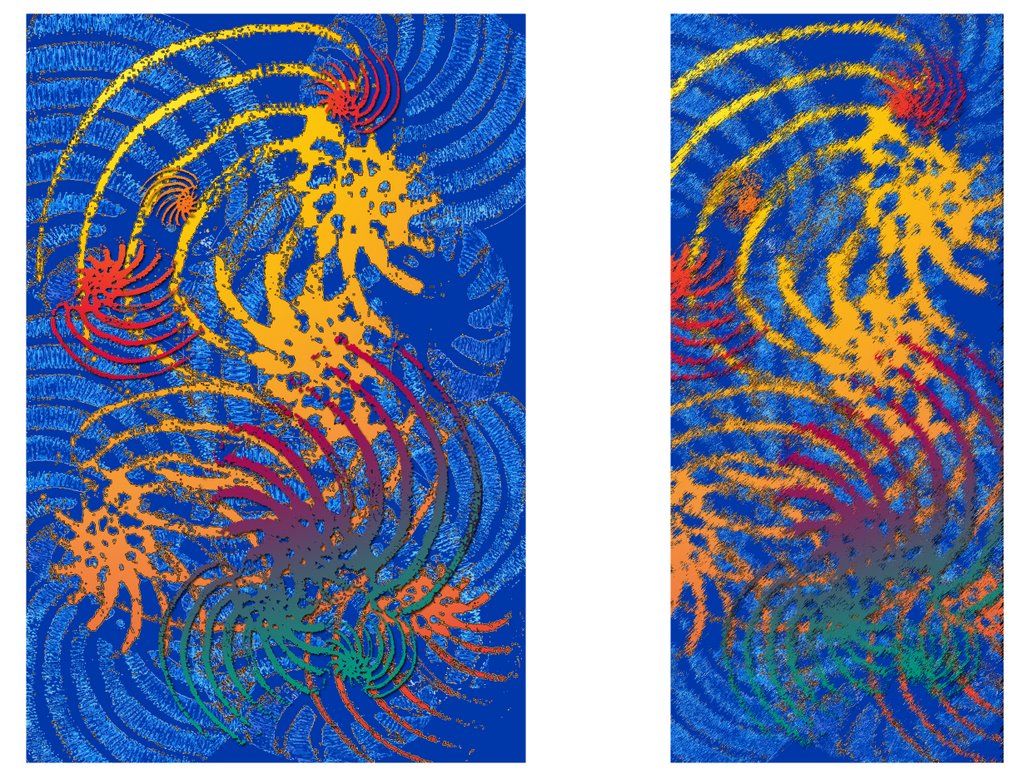
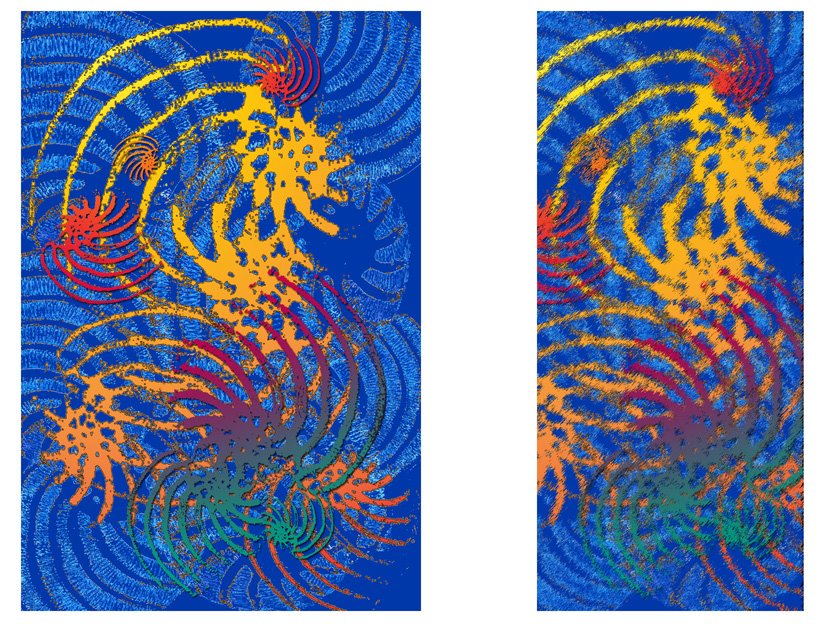
The second of Ros's Bacteria.

Gradient map applied, edges found and blending options applied

Circular selections made, cut and pasted, overlaid and layer styles added (see layers menu)

Background created with a gradient fill, an overlay of lacey selection with small ares filled in using colours picked up from the gradient map layer.
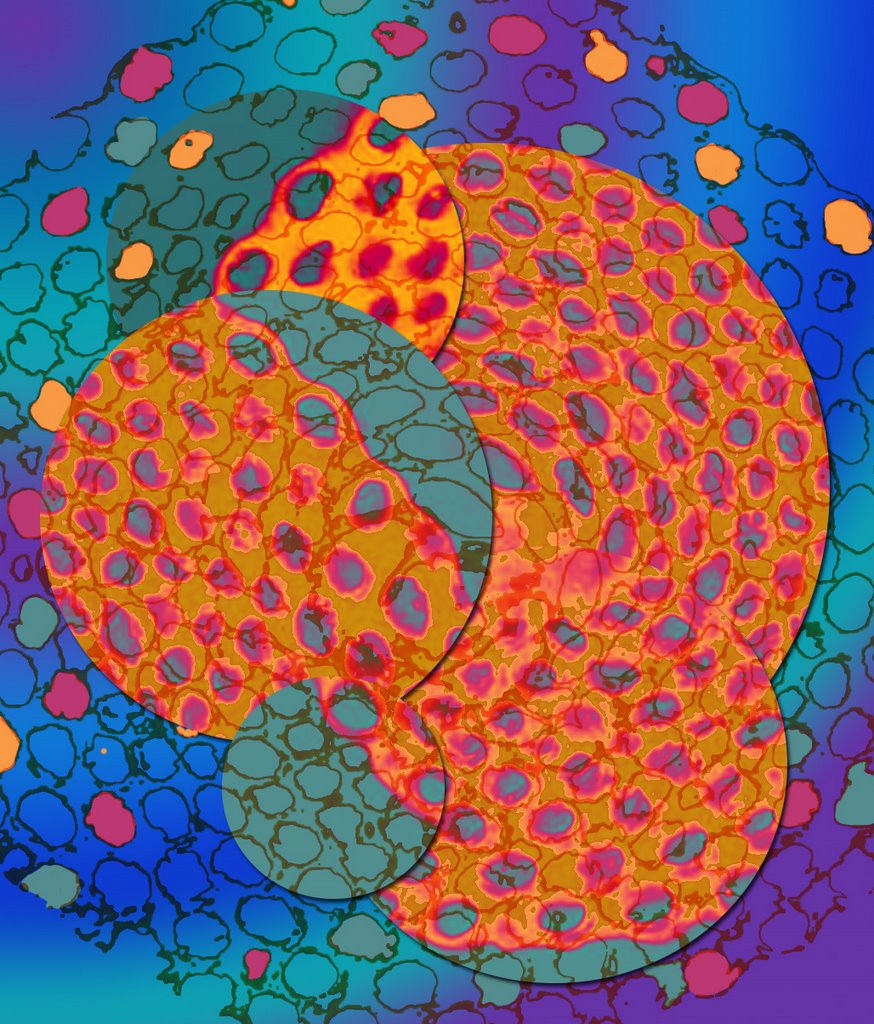
Combine it all and the end result retains the circular feel of the original, and the texture, but adds exciting colour and interest.


  1. Using the magic wand tool I selected parts of the design and cut and pasted them into another layer.
  2. Using the eyedropper tool I selected the yellow colour to flood fill a new lower layer.

Using the magic wand tool I selected the dark part of the shell-like design and cut and pasted, rotating, moving and changing size as I went. I merged those layers together and overlayed them on the brown layer (consider the blending options here)

Two tools that are handy for isolating parts of an image are Threshold (from the Image menu) and the filter Find Edges.
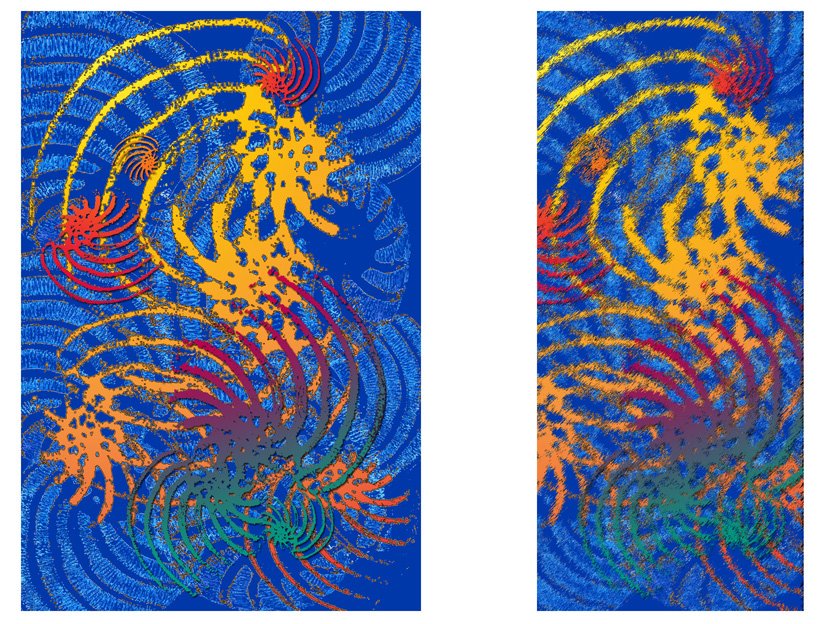
The background layer was inverted

Reselct the whorls using the magic wand tool and fill using a gradient bucket fill.

Crop the image for focus on a particular area.

Apply a "sitchy" filter to suggest ways of interpretation.
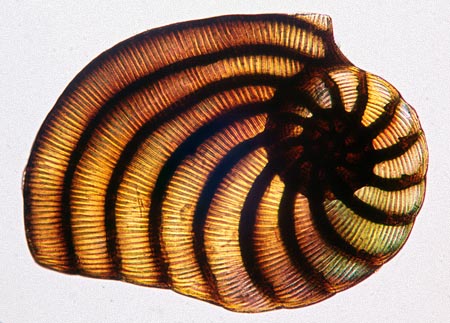


Ros's original Foram image from her wonderful Bacteria Day on 18th March. This is what she sent us to do: "If you have time please look at these images before you come, they were taken from www.microscopy-uk.org.uk. Look in the Micropolitan Museum
Heading - Freshwater - The Archive of Algae, Diatom depot, Desmid dome, Rotifer Room
Heading – Marine – Foram Factory
Also have a go at the Virtual Pond Dipping!"

Ros asked us to have a go at creating something from the images.

Sunday, May 29, 2005


Messing about again with my signature Posted by Hello

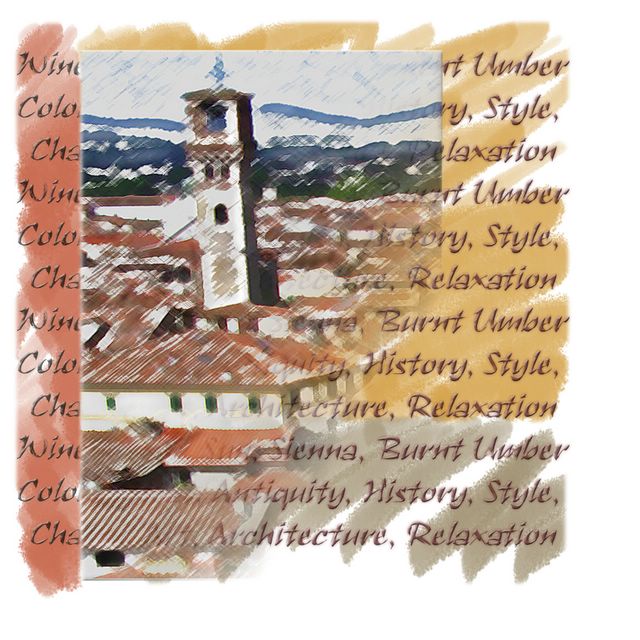
Lucca, Italy, one of my scrap book pages on which I used some of the techniques in the exercises below. Posted by Hello
Having posted all the images below, I realise that I should have done this in reverse order, as each new image appears above the last, so please view from the exercises upwards! Posted by Hello

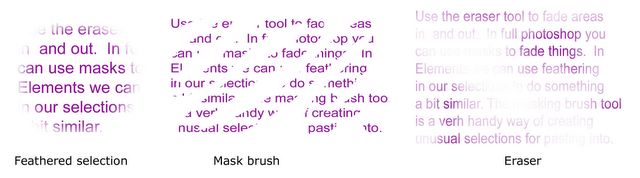
Images to go with your exercises Posted by Hello

More Images to go with your exercises Posted by Hello

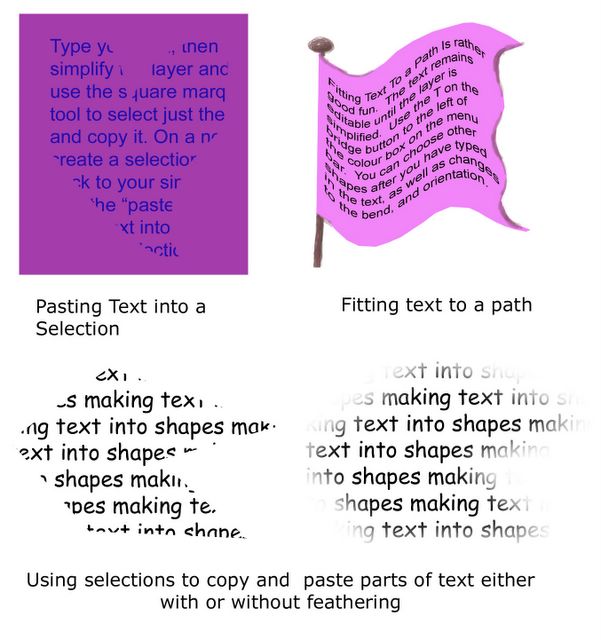
Using the Text Mask tool Posted by Hello

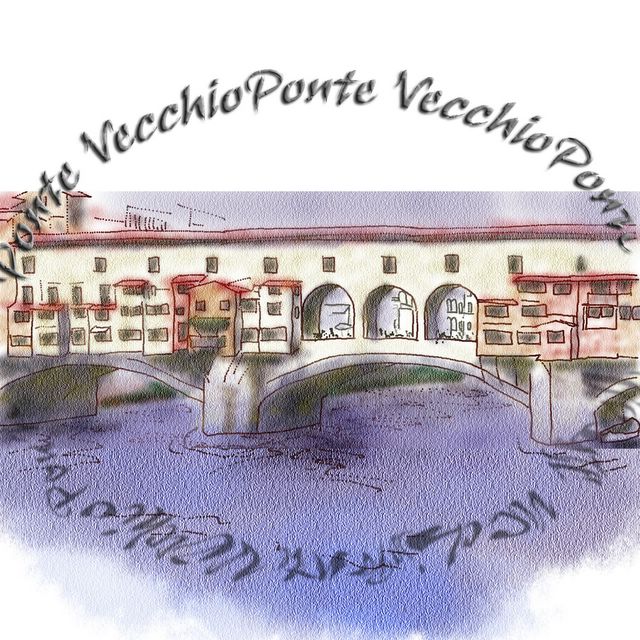
Fitting text to a path Posted by Hello

Messing about with my signature Posted by Hello

Wicked Words, playing with script Posted by Hello

WICKED WORDS

Saturday May 28th 2005 - Excercises

We had a very good and productive day on Saturday, so for those of you that were unable to be there here are the notes/ exercises for the session. If you missed it, then have a go at these exercises and learn a little about using text in Elements 2. NB some tools are not available in Elements one (mask brush), and I don't know what else is on offer in PE3 as I don't have it.

Signature Art

  1. Write your signature large and clearly in dark pen on clean white paper for maximum contrast.
  2. Scan it in
  3. Open in Elements and make a duplicate layer, blink out the lower layer
  4. Use the magic wand tool set to a tolerance of 2 and contiguous un ticked, to select the white background and then delete the white.
  5. Save your file
  6. Drag and drop or copy and paste the signature without the white background into another file
  7. Make duplicate layers
  8. Rotate, mirror, change the scale, distort and move the layers to create a design.
  9. Use select all / copy merged/ paste to copy all the layers of your design into a new layer.
  10. Blink out the layers below
  11. Colour as you wish using either the paint brush or the flood fill tools.


    Text Pasted in to a Selection
  12. Create a new file with a transparent background
  13. Type your text
  14. Simplify the layer (no longer editable, just dots on a screen like a picture)
  15. Create a new layer
  16. Use the lasso tool to draw a shape and save the selection (select / save selection)
  17. Return to your simplified layer and select the text using the square marquee (0 feathering) and copy it.
  18. Go back to the new layer and load the selection (select / load selection)
  19. Use the edit / paste into command and then deselect and your text should appear in the shape.


    Vignette Text
  20. Create a new file with a transparent background
  21. Type your text
  22. Simplify layer
  23. Use the eraser tool set to a soft blurry brush at low opacity to erase parts of the text
  24. Copy and paste the simplified layer
  25. Use the selection brush tool (don't forget all the myriad brush options available) to select parts of the text
  26. Either copy and paste this on to another layer, or use the select / inverse and then delete to remove the unwanted parts.
  27. Copy and paste the simplified layer again.
  28. Use the circular marquee with a feathering of at least 20 to select part of the wording and paste it into a new layer

    Text Masks
  29. Open an image that you want to use (always make a copy of your background layer) Use the text mask tool (T with marching ants) to type in a word in a bold and large font, the image will be masked with red
  30. Copy and paste your selection into a new layer
  31. Move, stretch, distort, scale, your words
  32. Try layer styles such as bevel and emboss

Or

  1. Instead of typing your text mask directly on the copy background layer, type it into a new layer
  2. Use the eyedropper tool to pick up colours from the image below and paint them in to your text selection

    Fitting Text to a Path
    The text remains editable until the layer is simplified.
  3. Create a new file with a transparent background
  4. Select the text tool and choose your font
  5. Press the T on the bridge button to the left of the colour box on the menu bar. And select the style you want
  6. Start to type and your words will appear along the style of path that you have selected.
  7. You can choose other shapes after you have typed in the text, as well as changes to the bend, and orientation.


    Tips:
    Remember to blink out lower layers or you will not see what you have done.
    Add in a background layer flood filled with a solid colour if you want to see more clearly the effects you have achieved.
    When using feathering remember that if you over feather you may not have any pixels left to select. Eg. Text typed at 8 points with a small selection and a very high feathering (150) might leave you nothing in the selection to copy and paste and an warning message appears.


    Posted by Hello

Saturday, March 12, 2005

Go See This Exhibition

Waterstones has a great exhibition on at the moment by an artist called Jill Perry. She has recorded a year in her life in the form of a visual diary. Each day takes up a small square and has a short sentence associated with it. The entries are sometimes painted, or collaged, sculpted and stitched, or photographed, or drawn. It is a moving, intimate, vibrant and inspiring exhibition which might give you inspiration for your own sketchbook pages. The exhibition runs until 2nd April in the Bridlesmith Gate Gallery, which is a lovely space on the fourth floor of Waterstones. Along side the visual diary are a number of her detailed and slightly surreal paintings which are a pleasure in themselves. Go and see it, you won't regret it.

Wednesday, February 16, 2005

Thursday, February 03, 2005


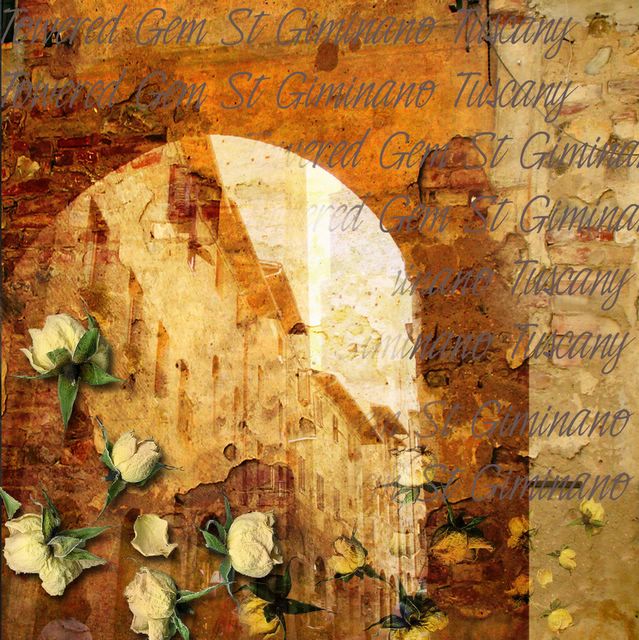
St Giminano is the sample sketch book page I am using for the meeting on February 5th. It shows use of layers, blending modes, layer styles,eraser and text. There are at least eight layers here, and the hard edge on the right is still to be eased into the backgound. Posted by Hello