Saturday, May 10, 2008

Ros's cactus


Dear Dotties

This is my first post although I've been a member for several years. I welcome you to the 'story' of my cactus. Some transformations are more obvious than others but I am very pleased with the finished result.

Saturday, May 03, 2008

Arrived At Last


Rather like announcing your safe arrival on holiday with a postcard home ,this is my safe arrival postcard to fellow members that I have arrived safely back on the DOT scene after an absence of over 3 years due to mental illness of which I am recovering (hopefully).


Slower than I used to be but twice as keen.I am not ashamed of having a mental illness and it is true there is always a way back through the maze


I will now start posting my new work from Consequences to the block .

Friday, May 02, 2008

Cactus ET the story


Here is the story of Cactus ET as it travelled around the group.
It is interesting to see fairly constant colours almost throughout and the different ways we found to distort the images.

From the original cactus photograph, I copied it, applied a gradient map and blended the 2 layers using difference mode. I replaced all the blue tones with green and cropped a square from the part of the image I felt worked best.

If anyone else would like to share how they made the transformations, just send it in a comment.

Cactus LW - the story


Below is the story of CactusLW and it's transformations as it went around the group.
It began as a cactus, moved through pop art to misty planets, dancing eggs or a string of beads, into a very surreal jelly mould and back to cactus colours and a neat, symetrical pattern, then reverted to the blues and purples and began to twirl. I wonder if we will be able to detect individual styles by the end of this exercise?
Sometimes it is hard to work out exactly what was done to achieve a particular image, but hopefully, next time, we will all have printed sheets that tell the story of each transformation. Trying out some of the ideas on the computer as we went along highlighted things for all of us that we could learn from and explore for ourselves.

Cactus Consequences


Cactus Consequences was it a game, or was it a challenge? We all started off with the same image (above), a beautiful picture of a cactus taken by Erica at Wisley. Everyone then had to make some sort of transformation to it and pass it on to the next person on the list of members. The image had a restricted size of 1mb and was to be about 10cm sq, approx 150ppi. The reason for the restriction is that not everyone in the group is on broadband (download times etc).


We each recorded what we did to the image, and sent it on as a single layered jpeg so no one could see the previous transformations and be influenced by them. Each week we passed on the images, but it soon became apparent that not everyone was sticking to the rules of engagement! We had some very interesting shpaes and sizes of image and quite a range of file formats too, which made it a little tricky for some to bring the image back in to line! It all added to the challenge though, and I think we all learnt more about how to change file sizes, ppi/dpi, layers and their implication for file sizes, and also keeping records and naming layers.


Below is my record of a transformation I made to one of the images.

Everyone had kept some sort of record of what they did and we followed one image around the group as it was transformed again and again. Whenever an image got to Erica it seemed to turn green! Chrissie was excellent at creating unusual shapes, Pat was in to pattern and Ros was keen to try out something new each time.

By listening and trying out peoples transformations on Ericas computer we all learnt things we did not know before. In fact I think we all had information overload as well!

Hopefully we will all post an image of the stages that transformed each one of our starting images into the end images that we received as they finished going around the group. Mine is still travelling at this point, but I hope to have the finished one back soon.

I am looking forward to the next one, Hilary has kindly supplied us all with another image to work on.

Thanks Erica for being our host this time, and thank you too for your origami skills!

Wednesday, March 12, 2008

Erica's Folded Books

The folded books are delightful, very inspirational. I have just today found my practice one after our move, so I'll have to make a proper one.
Hilary

Friday, February 01, 2008

Foil Tube Photo


This a one of my photos taken down an iridescent foil/film tube.

The foil or film as it is called was rolled up and stored inside a cardboard tube. I was simply carrying the tube through the house and happened to glance down at the tube. I noticed the ever changing colours - depending on what was visible through the tube at the far end and how much light was entering the tube. It was a sunny day, so I pointed it at a cushion sitting in a sunny spot (if you click on the photo, you get a much larger picture and if you zoom in, you can see the cushion!) . Then I wondered if it would work if I took a photo down the tube - this was the result.

I actually took loads of photos, some with an open end and some with a clothes peg holding the tube closed - all good. I bought the film from Paperchase where it was sold as wrapping paper, but I know you can buy it from lots of craft places to do all sorts of interesting things to it.

I have posted this photo using the "Blog This" button in Picasa. That was very easy to do.

Erica's Folded Books


On our first Friday meeting ever (1st Feb 2008) we shared the results of our endeavours. Folded from a sheet of A4 paper with 3 cuts, Erica's amazing mini books were an exercise in being precise! Some of us used Publisher, and others Page Plus. Erica provided a template and we all tried to create the books and import words, images backgrounds etc to create personal little books to treasure.

Sunday, June 18, 2006

hello to all

Hello everyone this is just a quick message from me ,hopefully you will all be able to pick up.Thank you for all your kind thoughts and messages.Liz has let me know that everything is going well at DOT.
Hope to see you all before another year is over.
Chrissie

Tuesday, May 02, 2006

Meeting Dates 2006

The next meeting is on Saturday 17th June 10am-3pm
The following 2 meetings will be held on Saturdays in September and December - dates yet to be confirmed.

Monday, April 17, 2006

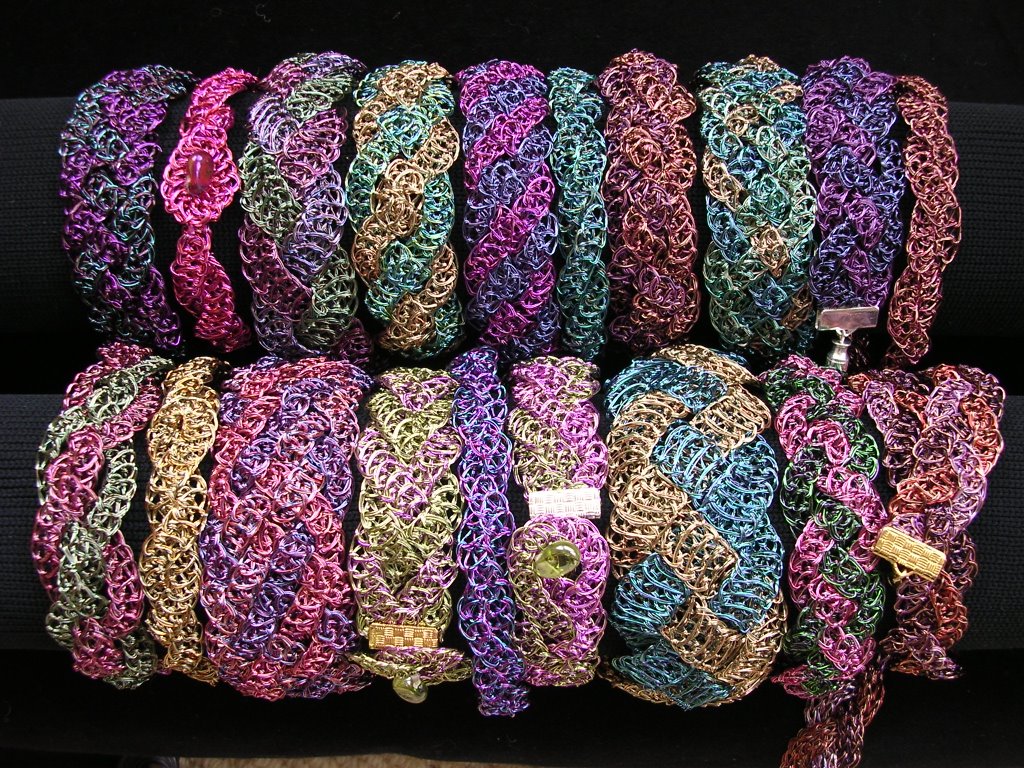
Wire Bracelets

Just thought you might like to see a picture of some of the finished jewellery.
Erica

Friday, March 24, 2006


This was my final quick creation from Ros's bacteria, the details of how I did it are below.

Thank you Ros for all your hospitality and hard work.

If you couldn't come to the meeting but are inspired by these bacteria images visit the website Ros gave me (see lower down in the blog).

If you want to post to the blog then have a chat with Erica.


The third of the images I chose was this lovely lotus-like bacteria.

Invert the image and select an area. copy and paste the selection.

Rotate one of the selections 180 degrees, and overlay slightly using a blend mode.

Use Edit Transfor, Perspective to create a triangle which is cut and pasted 5 times. The trick is to move the rotation point to the tip of the triangle, this makes it easy to move the petals around the centre point.


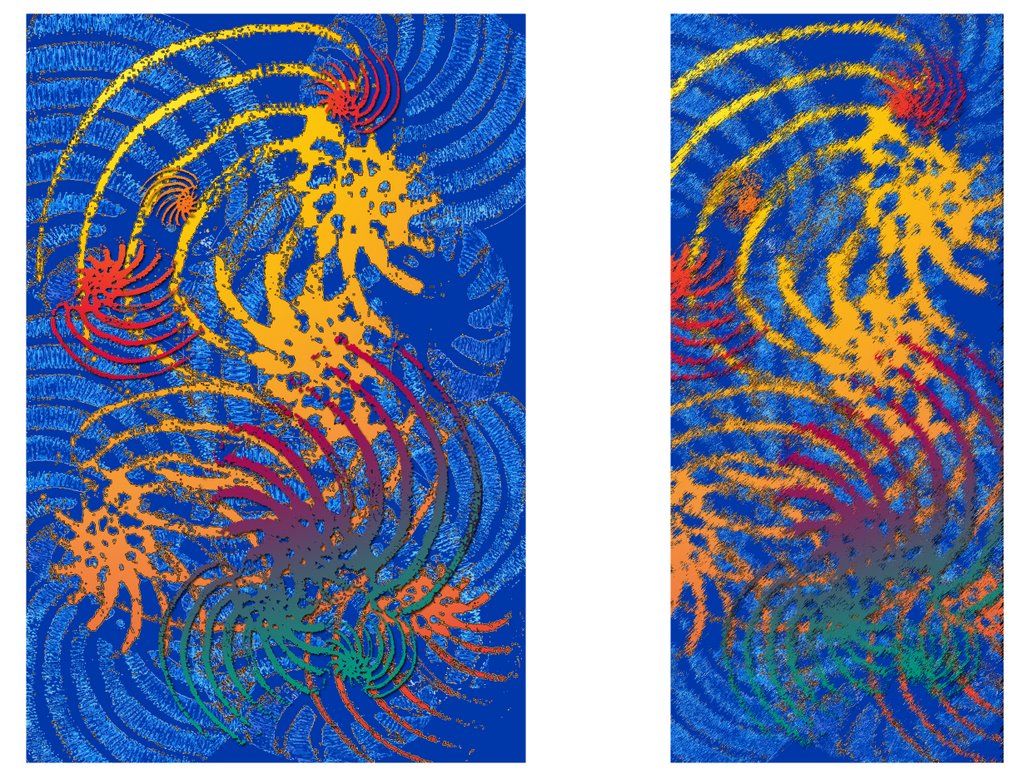
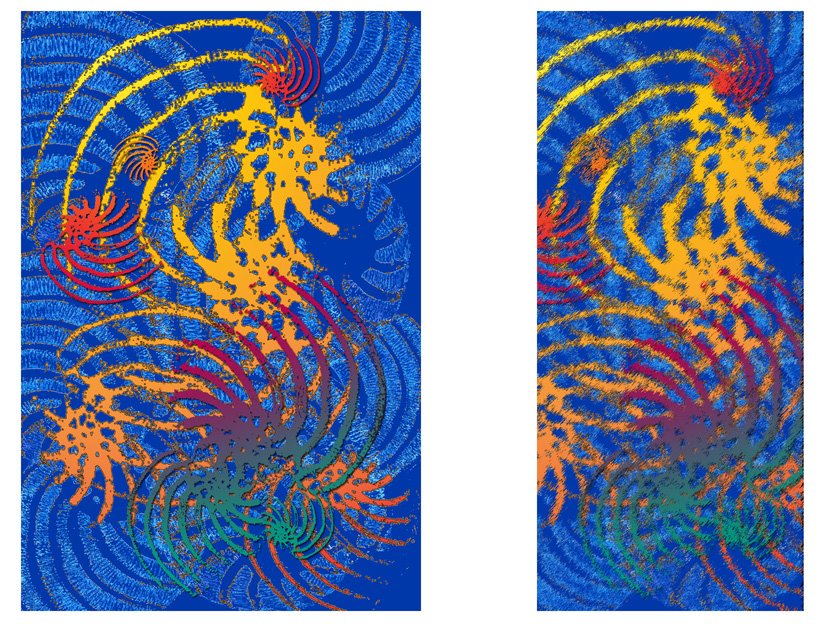
The second of Ros's Bacteria.

Gradient map applied, edges found and blending options applied

Circular selections made, cut and pasted, overlaid and layer styles added (see layers menu)

Background created with a gradient fill, an overlay of lacey selection with small ares filled in using colours picked up from the gradient map layer.
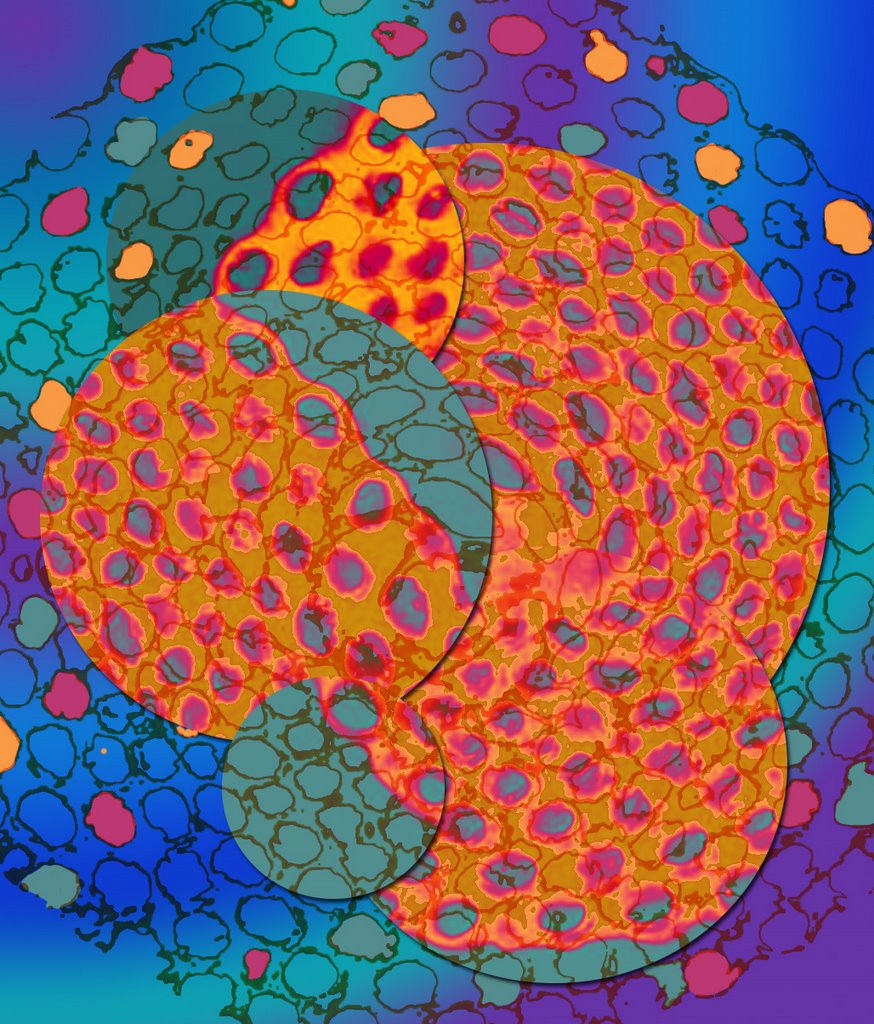
Combine it all and the end result retains the circular feel of the original, and the texture, but adds exciting colour and interest.


  1. Using the magic wand tool I selected parts of the design and cut and pasted them into another layer.
  2. Using the eyedropper tool I selected the yellow colour to flood fill a new lower layer.

Using the magic wand tool I selected the dark part of the shell-like design and cut and pasted, rotating, moving and changing size as I went. I merged those layers together and overlayed them on the brown layer (consider the blending options here)

Two tools that are handy for isolating parts of an image are Threshold (from the Image menu) and the filter Find Edges.
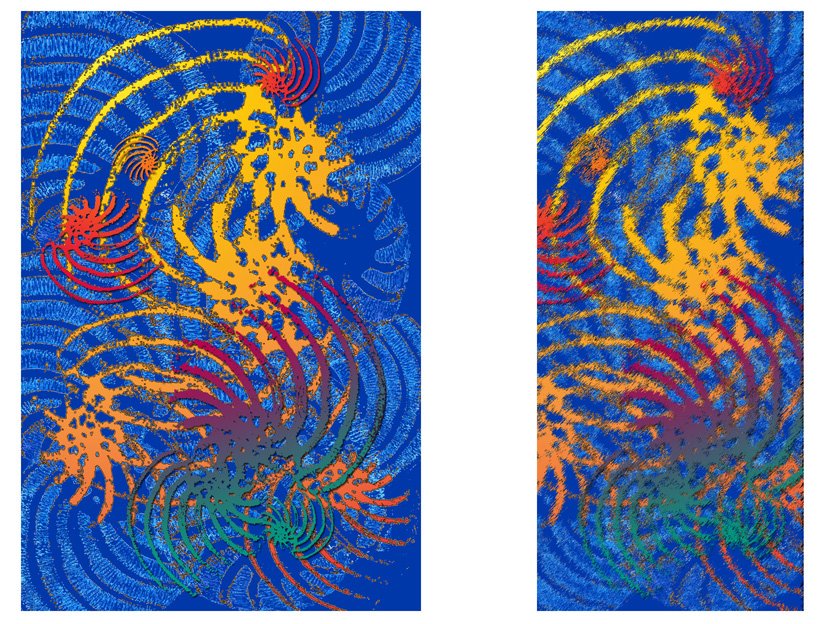
The background layer was inverted

Reselct the whorls using the magic wand tool and fill using a gradient bucket fill.

Crop the image for focus on a particular area.

Apply a "sitchy" filter to suggest ways of interpretation.
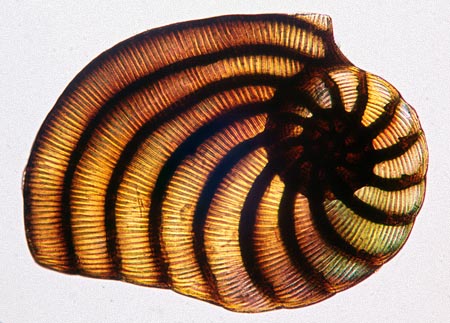


Ros's original Foram image from her wonderful Bacteria Day on 18th March. This is what she sent us to do: "If you have time please look at these images before you come, they were taken from www.microscopy-uk.org.uk. Look in the Micropolitan Museum
Heading - Freshwater - The Archive of Algae, Diatom depot, Desmid dome, Rotifer Room
Heading – Marine – Foram Factory
Also have a go at the Virtual Pond Dipping!"

Ros asked us to have a go at creating something from the images.

Sunday, May 29, 2005


Messing about again with my signature Posted by Hello

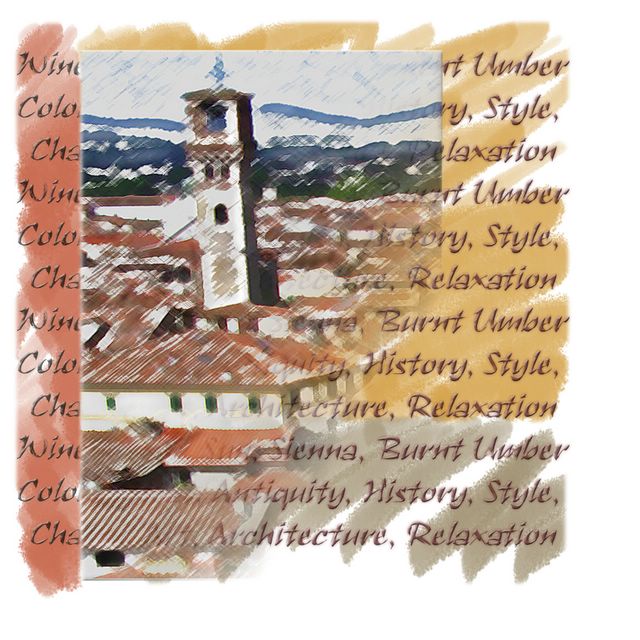
Lucca, Italy, one of my scrap book pages on which I used some of the techniques in the exercises below. Posted by Hello