Saturday May 28th 2005 - Excercises
We had a very good and productive day on Saturday, so for those of you that were unable to be there here are the notes/ exercises for the session. If you missed it, then have a go at these exercises and learn a little about using text in Elements 2. NB some tools are not available in Elements one (mask brush), and I don't know what else is on offer in PE3 as I don't have it.
Signature Art
- Write your signature large and clearly in dark pen on clean white paper for maximum contrast.
- Scan it in
- Open in Elements and make a duplicate layer, blink out the lower layer
- Use the magic wand tool set to a tolerance of 2 and contiguous un ticked, to select the white background and then delete the white.
- Save your file
- Drag and drop or copy and paste the signature without the white background into another file
- Make duplicate layers
- Rotate, mirror, change the scale, distort and move the layers to create a design.
- Use select all / copy merged/ paste to copy all the layers of your design into a new layer.
- Blink out the layers below
- Colour as you wish using either the paint brush or the flood fill tools.
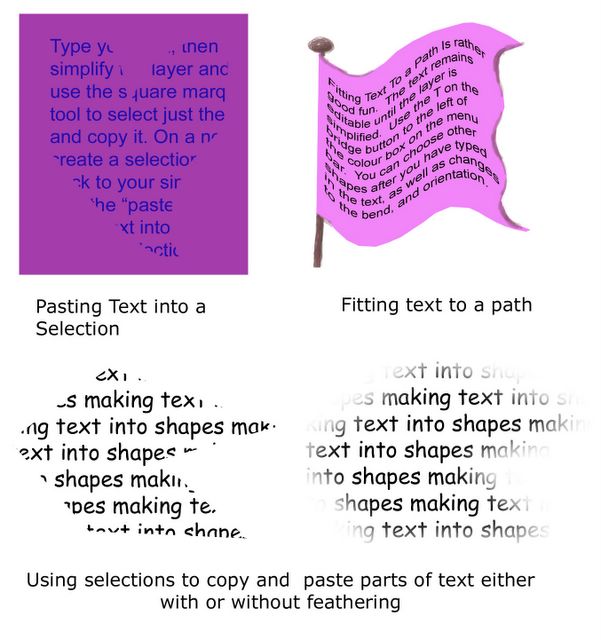
Text Pasted in to a Selection - Create a new file with a transparent background
- Type your text
- Simplify the layer (no longer editable, just dots on a screen like a picture)
- Create a new layer
- Use the lasso tool to draw a shape and save the selection (select / save selection)
- Return to your simplified layer and select the text using the square marquee (0 feathering) and copy it.
- Go back to the new layer and load the selection (select / load selection)
- Use the edit / paste into command and then deselect and your text should appear in the shape.
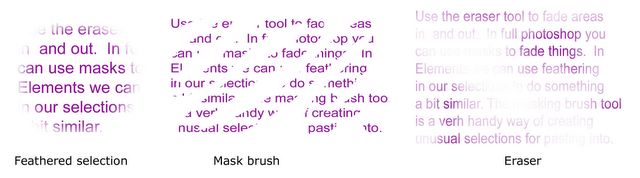
Vignette Text - Create a new file with a transparent background
- Type your text
- Simplify layer
- Use the eraser tool set to a soft blurry brush at low opacity to erase parts of the text
- Copy and paste the simplified layer
- Use the selection brush tool (don't forget all the myriad brush options available) to select parts of the text
- Either copy and paste this on to another layer, or use the select / inverse and then delete to remove the unwanted parts.
- Copy and paste the simplified layer again.
- Use the circular marquee with a feathering of at least 20 to select part of the wording and paste it into a new layer
Text Masks - Open an image that you want to use (always make a copy of your background layer) Use the text mask tool (T with marching ants) to type in a word in a bold and large font, the image will be masked with red
- Copy and paste your selection into a new layer
- Move, stretch, distort, scale, your words
- Try layer styles such as bevel and emboss
Or
- Instead of typing your text mask directly on the copy background layer, type it into a new layer
- Use the eyedropper tool to pick up colours from the image below and paint them in to your text selection
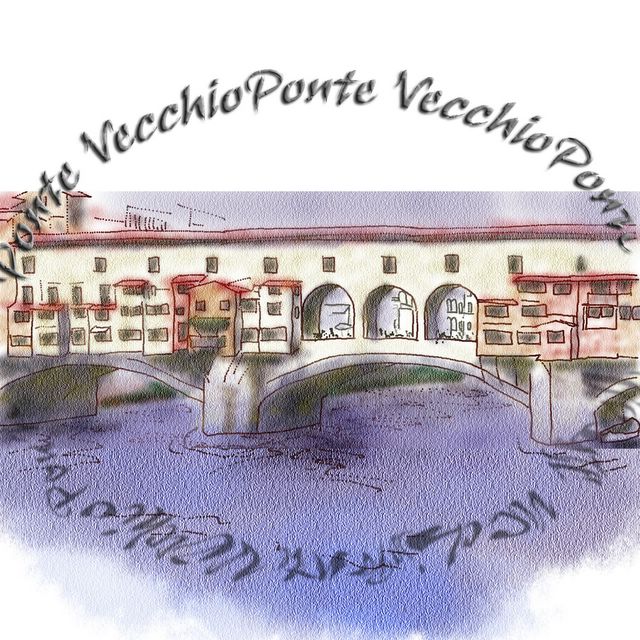
Fitting Text to a Path
The text remains editable until the layer is simplified. - Create a new file with a transparent background
- Select the text tool and choose your font
- Press the T on the bridge button to the left of the colour box on the menu bar. And select the style you want
- Start to type and your words will appear along the style of path that you have selected.
- You can choose other shapes after you have typed in the text, as well as changes to the bend, and orientation.
Tips:
Remember to blink out lower layers or you will not see what you have done.
Add in a background layer flood filled with a solid colour if you want to see more clearly the effects you have achieved.
When using feathering remember that if you over feather you may not have any pixels left to select. Eg. Text typed at 8 points with a small selection and a very high feathering (150) might leave you nothing in the selection to copy and paste and an warning message appears.